How to record a webinar with HyperCam 3

By Olga Krovyakova - April, 2 2019
Webinars are very popular nowadays as they allow getting useful knowledge, important skills and communicating with people all over the word online. Sometimes, there is a need to revise the webinar again if we want to understand certain things or just listen again to the narrated material. HyperCam 3, our screen capture tool, will easily help you to record all important information of the online webinar, both video and sound.
1. Download and install HyperCam 3 by following the steps of the installer.
2. Run HyperCam 3 by clicking the red icon on the Desktop or by following the Start -> All programs -> HyperCam 3 -> HyperCam 3.
3. A webinar usually consists of online presentation shown in real time, the narration of a teacher (lecturer) and sometimes your comments. Therefore, you will need to capture the area of the screen with webinar presentation, the system audio and also you also need to record the sound from your microphone.
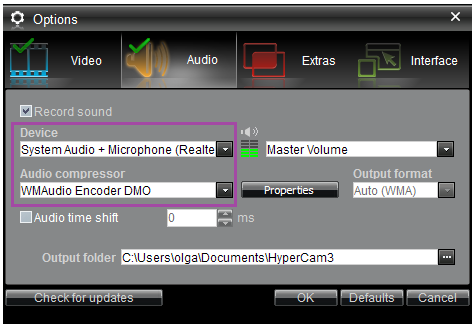
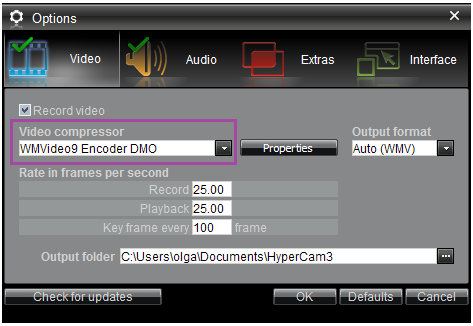
In advance check if the following sound options are selected in the Options -> Sound tab. The "System audio + Microphone" setting in the "Device" combobox should be activated. You can also optionally select audio and video compressors (you could use "WMAudio Encoder DMO" for audio and "WMVideo9 Encoder DMO" for video settings).
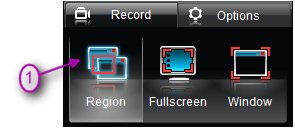
4. Click the "Region" button and define with the red frame the area you want to record. You can also select "Fullscreen" or "Window" if such option is preferable for your case.

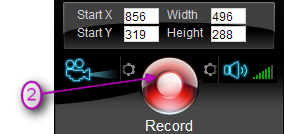
5. Click the red "Record" button or F2 hotkey when the webinar begins.
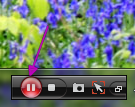
There are options to pause and continue the recording, so you can always interrupt and continue the recording by clicking the "Pause" and "Resume" buttons.
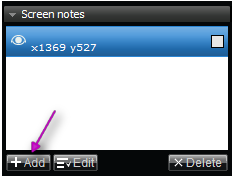
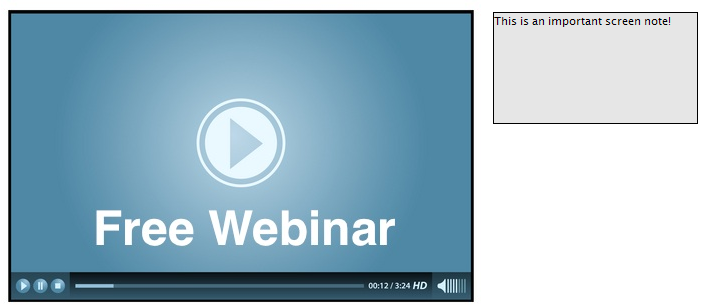
We would like to draw your attention to one of the features of HyperCam 3. The program allows to add screen notes during the recording. So if you want to make some written annotations yourself while the webinar is recorded, you may do so by using the "Add" button from the "Screen notes" section. Double mouse click on the note to write your text into on the opened box. You may also make some settings for the notes (please read more about this here).
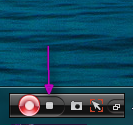
6. At the end of the webinar click the "Stop" button of HyperCam 3. You will find the recorded webinar in the "Recent records" dialog window.
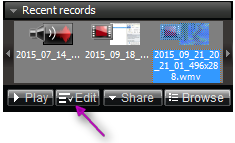
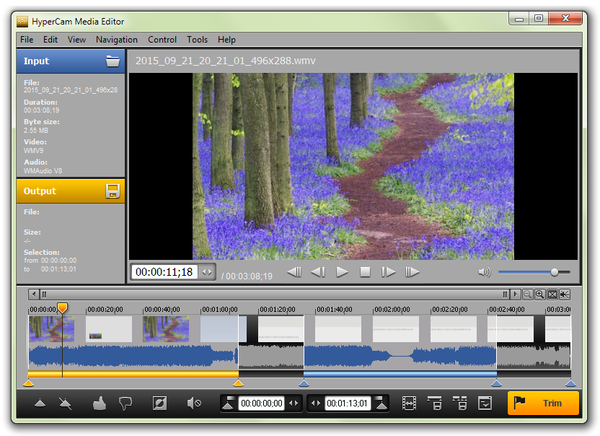
7. If you need to edit your recording, for example, to delete unnecessary fragments, you can easily do so with the built-in video editor – HyperCam 3 Media Editor -, that helps you to accomplish this task with just a few simple steps! Just select the recorded video file from the Recent records window and click the "Edit" button. You find more details about how to edit recorded webinars in this how to.
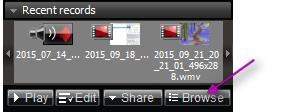
To open the folder with the recorded webinar file use the "Browse" button. The folder with you recorded webinar will be shown.
That’s all! Good luck with learning and teaching using webinars and HyperCam 3!
- https://www.solveigmm.com/en/support/howto/how-to-record-youtube-video-with-hypercam/
- https://www.solveigmm.com/en/support/howto/how-to-record-a-skype-session-with-hypercam/
- https://www.solveigmm.com/en/support/howto/how-to-achieve-a-good-video-quality-using-hypercam/
 Olga Krovyakova is the Technical Support Manager in Solveig Multimedia since 2010.
She is the author of many text and video guidelines of company's products: Video Splitter, HyperCam, WMP Trimmer Plugin, AVI Trimmer+ and TriMP4.
She works with programs every day and therefore knows very well how they work. Сontact Olga via support@solveigmm.com if you have any questions. She will gladly assist you!
 Eng
Eng  Rus
Rus  Deu
Deu  Ital
Ital  Esp
Esp  Port
Port  Jap
Jap  Chin
Chin